Wednesday, June 15, 2011

DIY Club and Pinterest

So if you're like me, you have become completely obsessed with Pinterest.  My Internet browsing has taken on a whole new direction - I'm now asking myself if an image, idea, or project is "pin" worthy!  The website allows you to create design boards of all your favorite things.  You can find your own images, or repin someone else's design idea, project, or style.  The boards allow you to organize your favorites so that you can categorize all similar ideas in one place.  Rather than saving a picture you find online to your computer, you're able to store and sort the ideas you stumble upon in one convenient place.  It's stored online, so you don't take up space on your computer, and you can share your fun discoveries with others.

I've mentioned it before (specifically HERE and HERE), but we would love to build a house on our land someday.  Although it won't be anytime in the near future, I'm constantly thinking about the different design elements and styles in our someday house.  So, I've started a few boards on my Pinterest, categorized by rooms, to save ideas and designs that I find between now and when we begin construction.  As new styles and trends develop, I'm sure my dream house ideas will change.  The wonderful thing about Pinterest is that I can edit those ever-changing "must haves" along the way!  To be honest, I'm not sure how long this website has been available.  It may be a new thing, or I may have just now discovered it.  Either way, it's definitely worth checking out!

Maybe it's the fact that I've started this blog, or even that I've been reading several creative blogs lately, but it seems as though DIY (do-it-yourself) crafts and projects are making a comeback.  Or, maybe it's my thriftier, less-is-more attitude, but DIY projects are actually kind of cool now - and I'm seeing some great ways to create decorative and useful things in a much cheaper way.  And, with blogs, we (bloggers) are able to share those ideas by providing tutorials and photos, that allow those who lack creative genes to flourish in the DIY world.  It gives us hope to see so many ideas out there!

Some of the most beautiful, and most treasured, things in my home are drawings, paintings, and personal items that can't be purchased.  I love pretty and creative things, but I've never claimed to be a creative person.  I have my moments, but all in all, I need some direction.  I have several projects on my 'to do' list, and through Pinterest, that DIY list has grown.

Here are some fun DIY project ideas on my list:

Embroidery hoop made into a Christmas card holder

Pringles can turned holiday cookie tin


Drop cloth rosette pillow, or wreath, or headband...
No sew grommet curtains
Balloon birthday wreath
Yarn dipped in watered down glue, cover a balloon and once yarn is dry, pop the balloon.  Darling party decoration!
Mossy letters - for the mantel or front door
Flower pillow
I'm inspired - are you?  I would love to make some, or even all, of these DIY projects in the near future.  I better hurry, too, because I'm sure I'll keep adding to my list.

But, here is what I'm thinking...  I know I have some creative friends, crafty neighbors and fellow DIY wanna be's out there.  I think we should all join forces and help each other!  Once a month, we could get together with one DIY project in mind.  Rotating each month, one person would serve as our instructor.  They would be in charge of the craft/project and would be responsible for sending out the required supply list.  The group will gather their supplies prior to the scheduled time, so that once we meet we are ready to go!  As our group gains confidence in their own DIY skills, we can come up with new ideas to share.  Even if we get together and make gingerbread houses during the holidays, it would be a fun, no-pressure girls night.  I know I always welcome a night with the girls!

Please think about it, and I'm open to additional thoughts and ideas!  If you see this post, and are interested, please let me know.  Leave a comment, or email me!

Thanks!

Monday, June 13, 2011

P-dub's Iced Coffee Post

I've literally cut and pasted Ree's latest post, because, well, it's about coffee, and I thought it was an appropriate post to start out your week.  In no way am I trying to take credit, this is all hers.  Just thought it was great info for all the coffee lovers out there!  And, if there are two things I love in this world, it's coffee and new recipes!  Also, if you don't already, please, please, please subscribe to her blog @ www.thepioneerwoman.com.  It's so funny, and down to earth.  You'll fall in love with her writing style and her overall personality.  Her recipes are amazing, too!

Perfect Iced Coffee


Iced coffee is my life. When I wake up, often around the time party animals on the west coast are just heading home, I start each day not with a cup of freshly brewed hot java, but with a tall, blessed glass of creamy iced coffee in a glass. I’ve been an iced coffee freakazoid for years and years. To say I couldn’t live without it is an understatement. It gives me the tools I need to cope.

Iced coffee is a complicated thing, and there are many different approaches. One would think that one could merely pour brewed coffee into a glass full of ice and call it a day…but I find that method extremely flawed. First, no matter how packed with ice the glass is, once the hot coffee hits, some of the ice is bound to melt. This has two disastrous results:
1. The overall strength of the coffee flavor is diluted.
2. The iced coffee isn’t as cold as it could (or should) be. The finished glass of iced coffee should be frigid, not sorta cold with half-melted ice cubes floating around.
Given the previous set of facts, one would assume that the logical solution would be to brew hot coffee, then transfer the brew to the fridge, allow it to cool, and use it to make iced coffee from there. It’s an okay solution, one I subscribed to for quite awhile…until I picked up an issue of Imbibe Magazine three summers ago. It contained a huge spread on the subject of iced coffee, and suggested the following cold-brew method for creating a sort of iced coffee concentrate. I tried it immediately, have made it this way ever since, and can tell you that there is no better (or simpler) method for having the most delicious iced coffee at your fingertips.
There are reasons this method results in a smoother, richer, more delicious concentrate than simply brewing strong coffee and refrigerating it. I would take the time to explain them to you if I knew what they were. But since I don’t, I’m just going to show you instead.
(Note: I’ve totally adapted/tweaked coffee/water amounts to suit my own tastes. Experiment to find your own perfect ratio.)
 
REE_4983
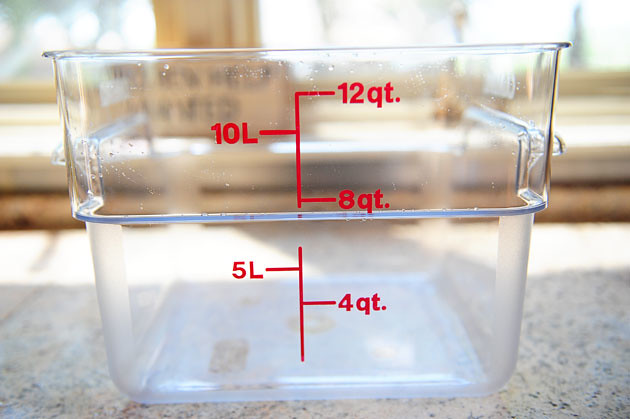
I start with a big ol’ container. I love these food storage containers, by the way. I got these at restaurant supply, but Sam’s Club had them last time I was there.

You can use a big bowl, a large pitcher…even a really clean bucket will work if you’re going for a huge quantity. (Or you can halve the original quantity and use a pitcher.)


Rip open a pound of ground coffee. Any kind will do; the stronger and richer the better. 

REE_4986
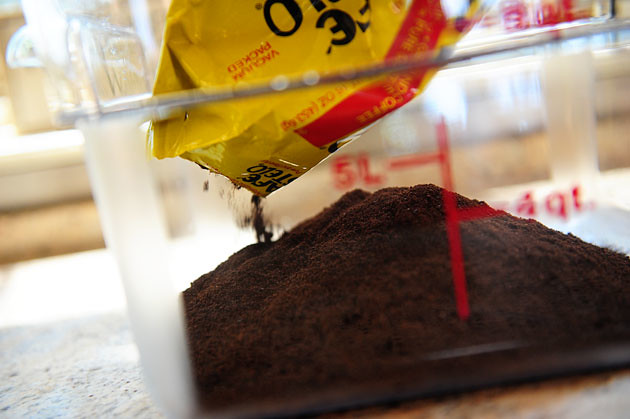
Pour in the coffee. 

REE_4991
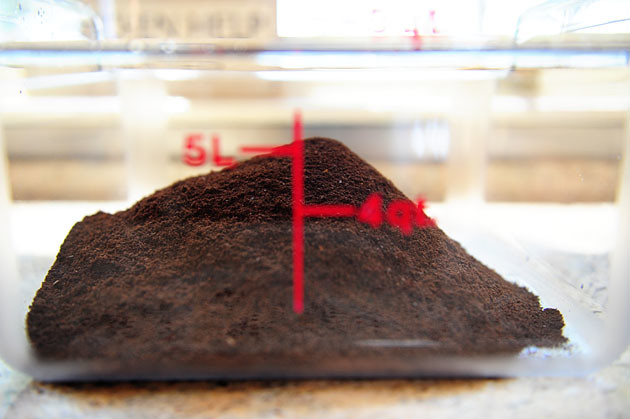
Mount Bliss. Who invented coffee, anyway? They should be awarded the keys to the city.

Or, at the very least, my heart.


REE_4995
Pour in 8 quarts (2 gallons) cold water.


REE_4998
 
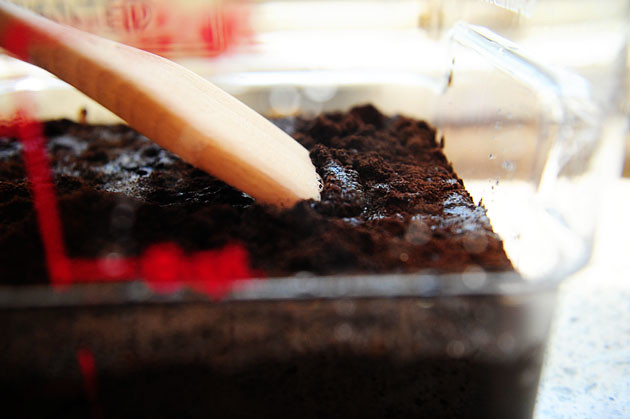
Give it a stir to make sure all the grounds make contact with the water…

REE_5000
 
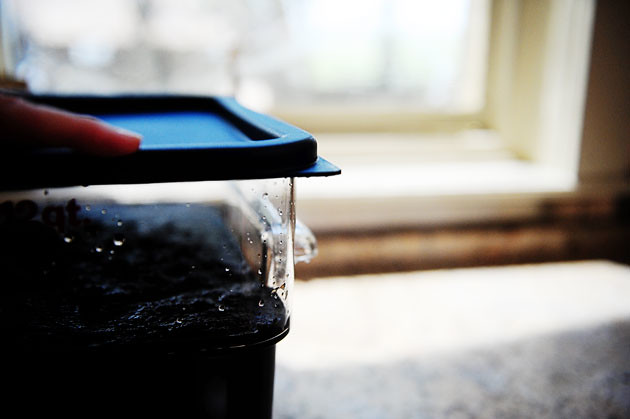
Then cover the container and go live your life as the coffee steeps for at least eight hours. (And you can go much longer if you’d like.)
 REE_5001
 
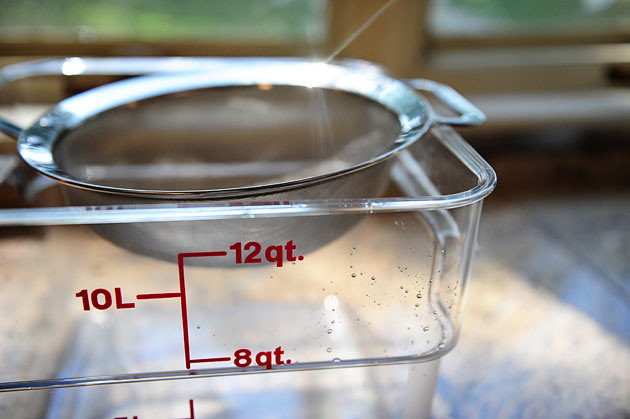
When the time has passed, grab a separate container and place a fine mesh strainer over the top.
REE_5008
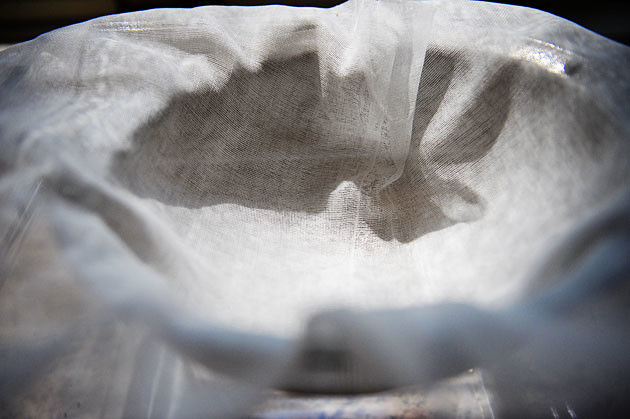
Place a couple of layers of cheesecloth inside the strainer…


REE_5010
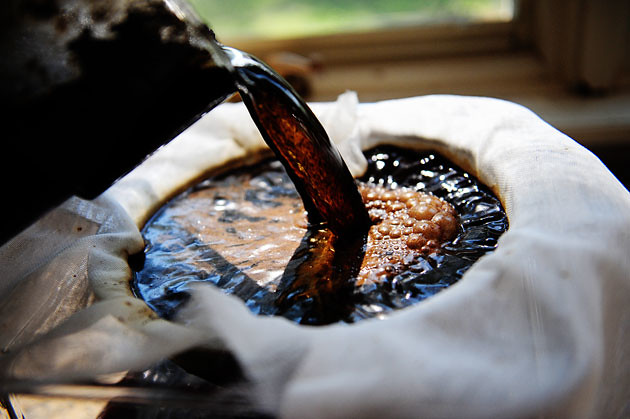
And slowly pour the steeped coffee through the strainer.


REE_5015
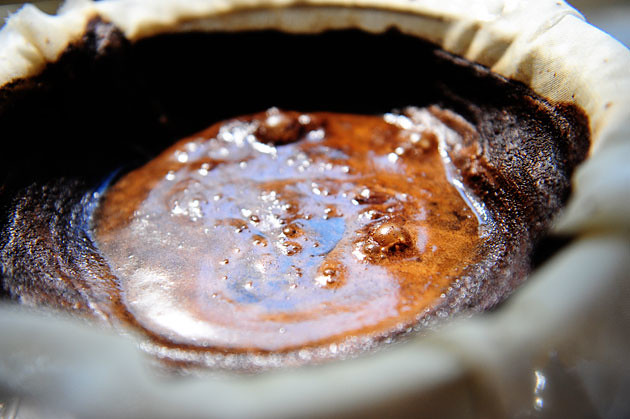
It’ll take awhile for all the liquid to pass through. (Doesn’t this look like one of the acid pools at Yellowstone?)

My friend Julie is there right now.
Hi, Julie!
Oh. Guess she didn’t hear me.
 

REE_5019
Use a spoon to gently press/force the last of the liquid through. And note: I’ve tried the straining method without the cheesecloth, and stray grounds did make it through the mesh strainer. Definitely try to use cheesecloth (or even paper towels) to filter out the finer pieces.


REE_5022
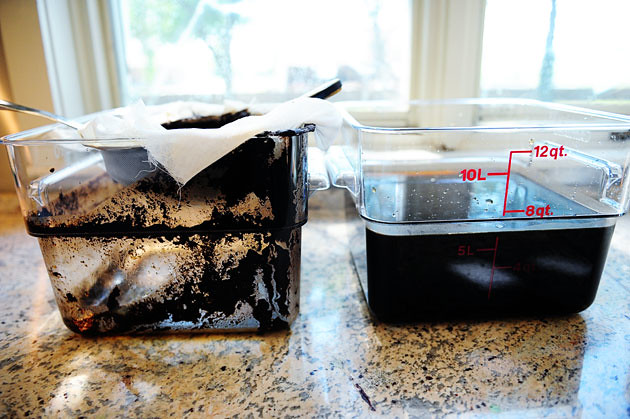
And there we have it. The dregs (left)…and the gold (right.)


REE_5028
 
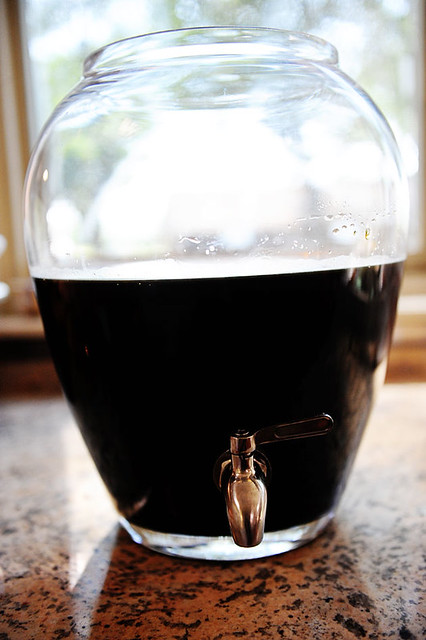
You can store the liquid in the same container, or you can transfer it to a pitcher or other dispenser. Though it’s difficult to wait, I refrigerate this gorgeous concoction before consuming it. It’s meant to be cold!
Note: this amount of coffee concentrate lasts me a good three weeks to a month if kept tightly covered in the fridge.

REE_5033
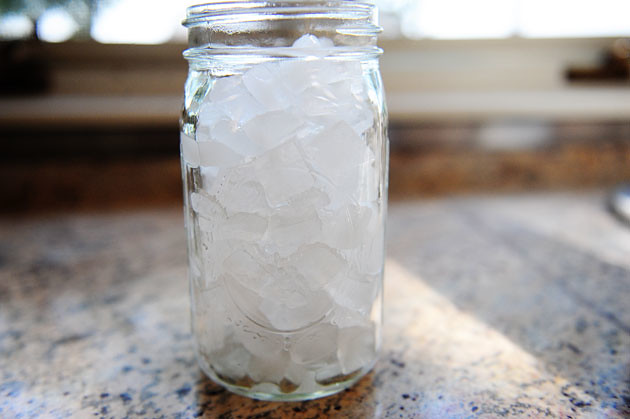
Now, when you’re ready to make yourself an iced coffee, you can do two things. Start by filling a glass with ice.


REE_5037
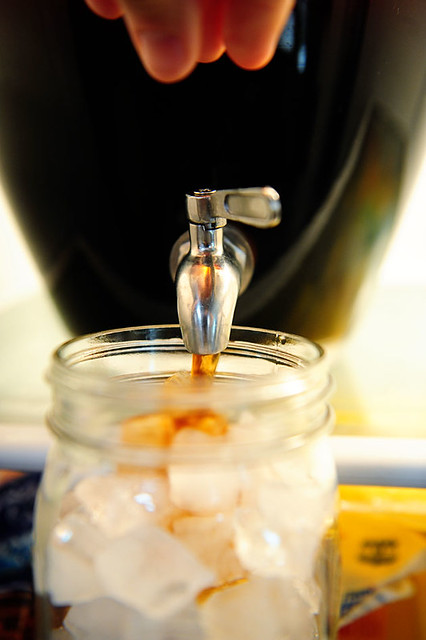
Reach into the fridge and dispense enough of the coffee liquid to fill the glass half full (or maybe a little more). 

REE_5039
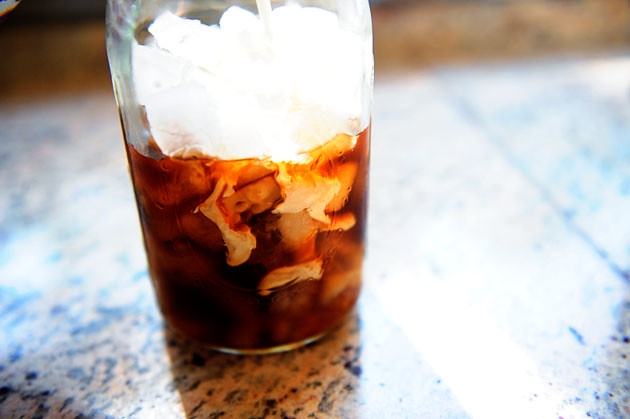
Splash in skim, 2%, or whole milk…or, if you’re a naughty, naughty bad girl like me: half-and-half.


REE_5040
Make that naughty, naughty, naughty, bad, bad girl.


REE_5042
Add enough sugar to achieve the level of sweetness you like, or you can drizzle in vanilla or hazelnut syrup if you have those kinds of things lying around.


REE_5047
 
Stir it all up…

REE_5050
Stick in a straw…


REE_5055
 
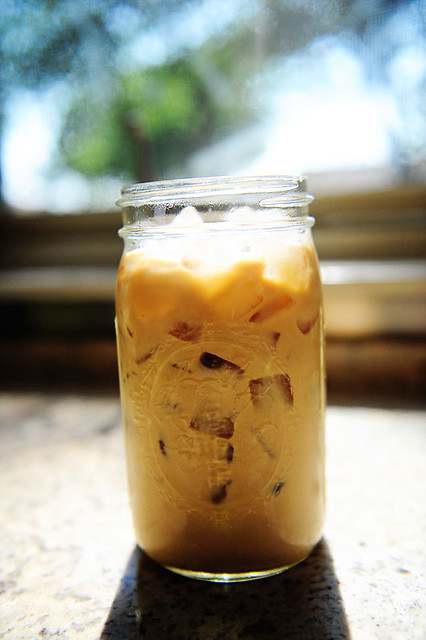
And go fer it. Look at that miracle. The ice is all there. The flavor’s all there.
I’m all there.
VARIATION: VIETNAMESE ICED COFFEE
And now for something entirely different. Same…but different.
This is a variation on classic Vietnamese Iced Coffee (also recommended by Imbibe), which actually does begin with a hot brew…but I’m using the cold stuff.


REE_5062
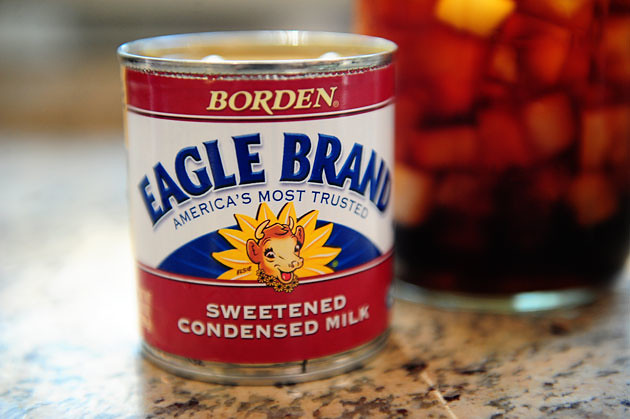
Fill the glass with ice and coffee concentrate as we did before, then crack open a can of sweetened condensed milk.

A glorious substance. One you should get to know better if you don’t already.


REE_5066
 
Drizzle in at least 2 tablespoons for a big glass (I wound up adding three.)

REE_5069
 
Come…to…MAMA. 

REE_5071
 
On top of this, add a small splash of milk or half-and-half.
(I recommend the latter, of course.)
 

REE_5073
 
Glorious.

REE_5075
 
Stir, take a small sip, and add a little more sweetened condensed milk if needed.
I’ve tried all combinations of milk, half-and-half, sugar, artificial sweeteners, flavored syrups, and sweetened condensed milk, and I will tell you that there is no more winning combo than the half-and-half/sweetened condensed milk mixture. It is out-of-this-world creamy and wonderful, and is worth at least a spot in your weekend rotation if you’re not willing to go there daily.
Either way, try this cold-brewed method of iced coffee sometime soon. The flavor, convenience (and cost savings) can not be underestimated.
Love,
Pioneer Woman

Wednesday, June 8, 2011

This one takes the cake!

Sometimes, a celebratory occasion warrants it.  Sometimes, your hormones require it.  Maybe, your family asks for it.  And, often times, it can be any combination of reasons.  Bottom line is that it doesn't really matter.  When you want it or when you need it, just make it!

Tonight, I can probably justify my urge to bake with two of the above reasons.  But, regardless, it just sounded good, I had all the ingredients on hand, and I'm not sure anything was going to stop me!

When I first became a wife, I secretly thought it was shameful to make a cake from a box.  I mean, what 'real' wife would do such a thing?!?  After all, all good wives wear aprons, and lipstick, and heels while they cook meals for their husband - all after putting in a 9 hour day at the office themselves.  A real wife uses only the best of ingredients, and wouldn't dare buy a prepackaged mix of any kind.  But, after several failed, and expensive, attempts at the homemade versions, I quickly came to the conclusion that 1) for the price, 2) the simplicity, and 3) the overall taste, you can't beat a good 'ole boxed cake mix!  Truth be known, that Betty Crocker sure knows how to make some great tasting, crowd pleasing, moist and delicious treats!  So, tonight, I found no shame, nonewhatsoever, in making myself (er, my family) a strawberry cake. 

I did have a slight issue with making a cake this evening...  no icing.  But, I knew I had cream cheese, other baking essentials, and the Internet..  So, I started searching online for a cream cheese-based icing.  Not sure that is what you're supposed to make for a strawberry cake, but I figure cream cheese icing can make anything taste better!  I found several recipes, but nothing matched the increments of the ingredients I had on hand.  So, I made some slight adjustments to the several recipes I found online and came up with a delicious concoction.

And, so, this cream cheese icing definitely takes the cake!  It's so simple, and yet, so perfect.  I will use this for my carrot cake, the PW Red Velvet Cake, and any other cream cheese icing-worthy treats in the future.  I hope you enjoy!

Cream Cheese Icing

8 oz. cream cheese, softened
1/2 c. butter, softened
2 t. vanilla
1/4 t. salt
3 cups powdered sugar

Beat cream cheese, butter, vanilla and salt until well mixed.  Gradually add powdered sugar until desired consistency.  Spread on a cooled cake or refrigerate slightly for a firmer icing.

Oh, and all that fantasy wife stuff isn't realistic.  This is not 1950 and we work as partners.  Okay, he doesn't bake, but we share most household and parenting tasks.  Except mowing the lawn - he does that and I don't really care if I ever learn!  :)

You should all make yourselves a cake this week, just because!  If you need an excuse, you can tell yourself that you need to try a new icing recipe, or maybe you just need one to make a bad day better.  I'm going to go cut myself a piece of strawberry cake with cream cheese icing now.  And, tomorrow, I'm going to take one for breakfast, to enjoy with a nice cup of coffee. 

'Sweet' dreams, goodnight!

Related Posts Plugin for WordPress, Blogger...